If you’re trying gel nails at home for the first time, you’re in the right place!
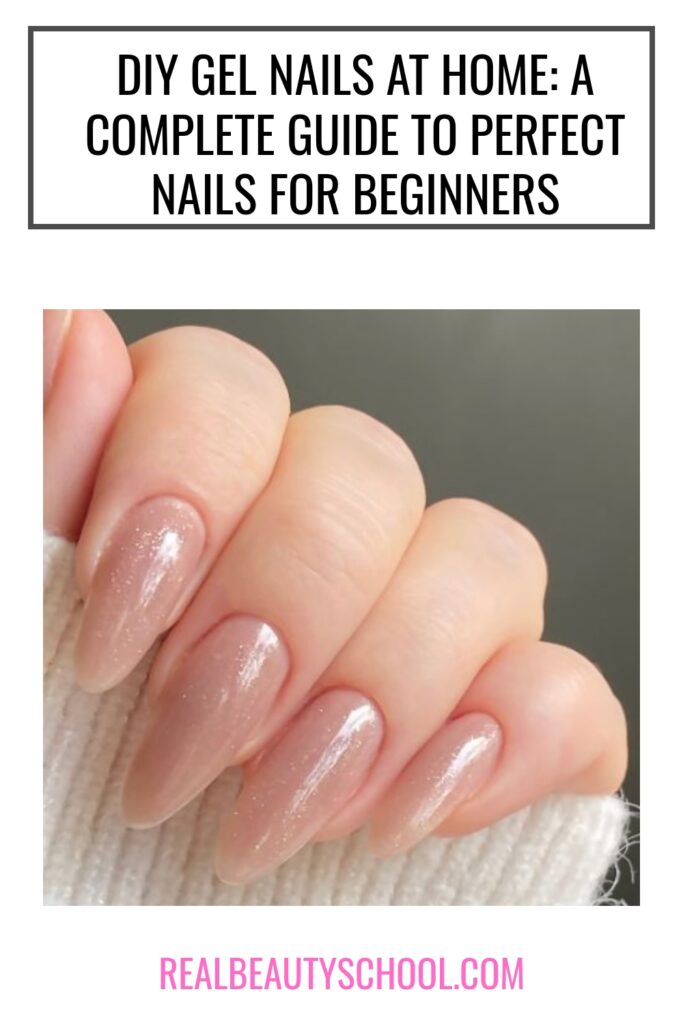
Like many, I wanted to save money on salon visits, so I decided to try doing my own gel nails at home. While I still enjoy the occasional salon trip, I love how much more affordable and convenient it is to DIY my gel nails. It’s a relaxing “me-time” activity, and the results are surprisingly professional!
Whether you’re a total beginner or want to perfect your gel nail routine, here’s a complete guide to doing gel nails at home, including tips and even gel extensions.

This post may contain affiliate links. That means if you click and buy, I may receive a small commission (at zero cost to you). Please see my full disclosure policy for details.
What You’ll Need for Gel Nails at Home
To get started, you’ll need:
- Gel nail polish (several colors for variety, this gel nails kit includes 32 different colors)
- Base coat and top coat
- UV or LED lamp
- Nail buffer
- Cuticle pusher
- Nail file
- Rubbing alcohol
- Cotton pads or paper towels
Pro Tip: Consider investing in a gel nail kit that includes most of these items. It’s more affordable than buying everything separately and ensures you have high-quality tools to start.
Step 1: Prepping Your Nails
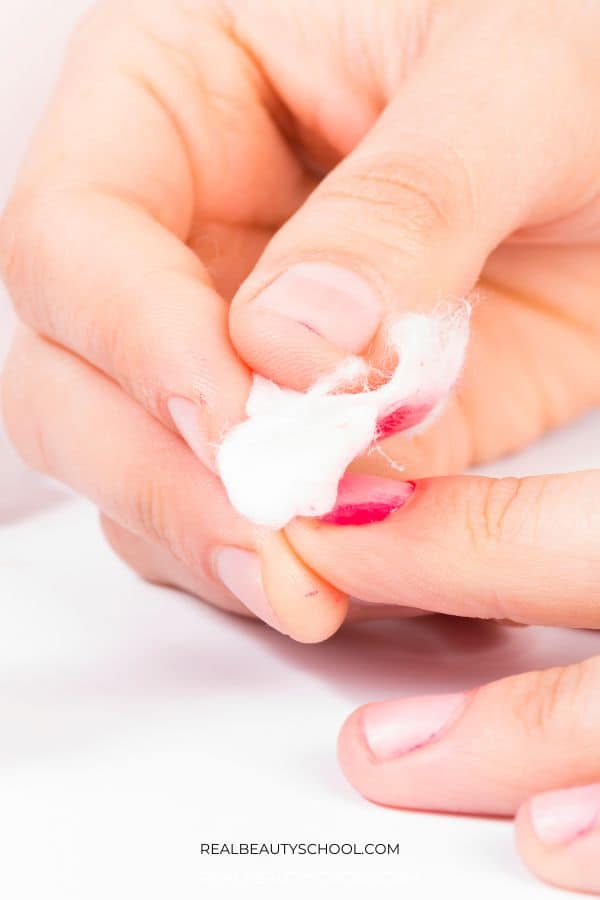
Before applying gel polish, proper nail preparation is essential to ensure your manicure lasts.
- Remove Old Polish: Clean your nails with nail polish remover to get rid of any residue.
- Shape Your Nails: Use a nail file to shape your nails into your desired look—square, round, or almond. If you’re doing gel extensions, apply them at this stage.
- Buff the Surface: Gently buff the tops of your nails to remove natural shine, which helps the gel adhere better.
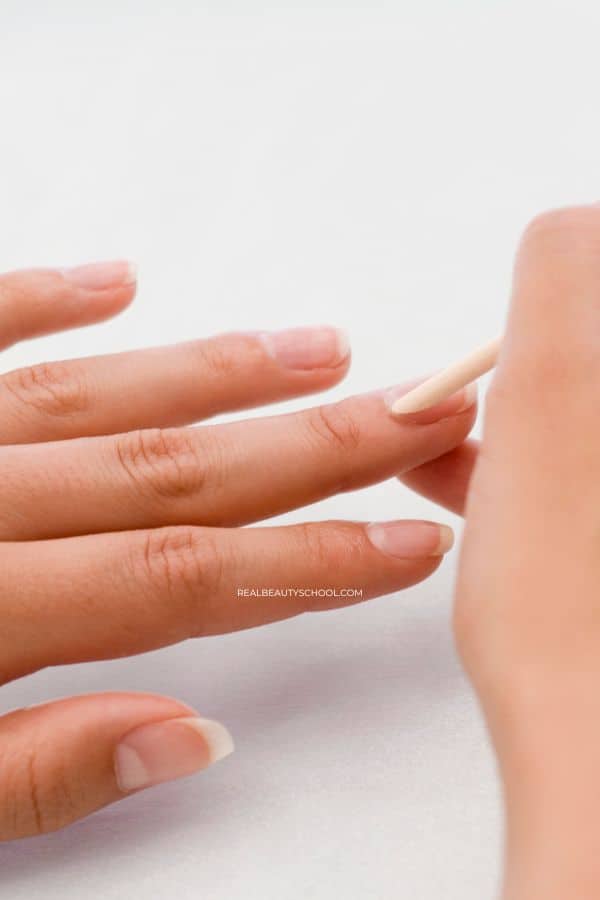
- Push Back Cuticles: Use a cuticle pusher to gently push back your cuticles. Avoid overdoing it to protect your nails. Use a cuticle remover kit like this one that has a special liquid to detach the cuticle from the nail, wait a few minutes after the application then remove the excess of cuticle with the tools included on the kit
Step 2: Applying Gel Polish
Now that your nails are prepped, it’s time to apply gel polish step by step:
- Apply Primer: Start with a nail dehydrator and primer to remove moisture and create a base for your polish. This step is key to preventing lifting or fungal issues.
- Base Coat: Apply a thin layer of base coat and cure under a UV or LED lamp (usually for 30-60 seconds).
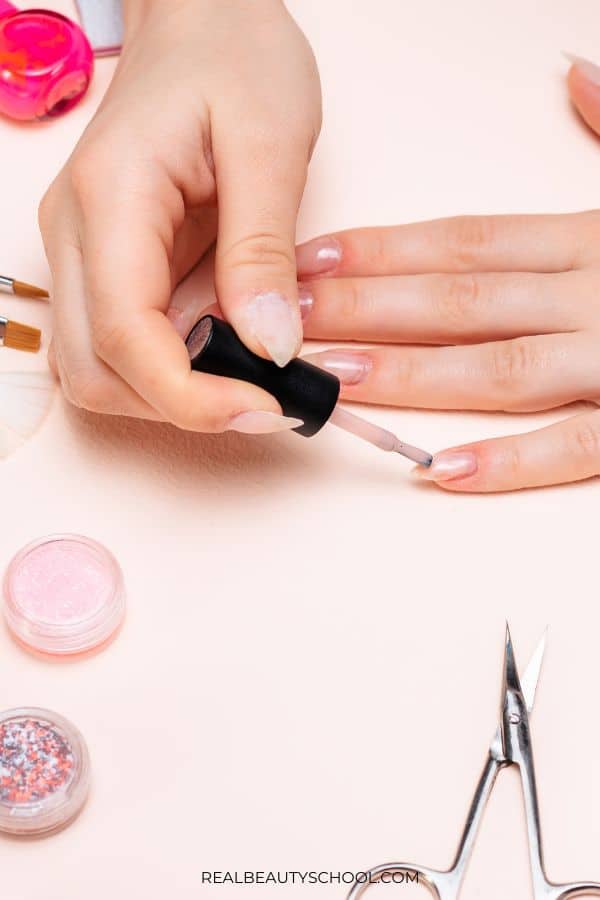
- Gel Polish: Apply a thin, even layer of gel polish, ensuring you cover the tips and corners of your nails. Cure under the lamp. Repeat for 2-3 layers until you achieve your desired color. If you want t get inspired, check these 89 nail designs to try for your gel nails!
- Top Coat: Finish with a top coat for a glossy, salon-worthy shine. Cure under the lamp for the final time.
Final Touches
- Clean Residue: After curing, wipe off any sticky residue with rubbing alcohol on a cotton pad.
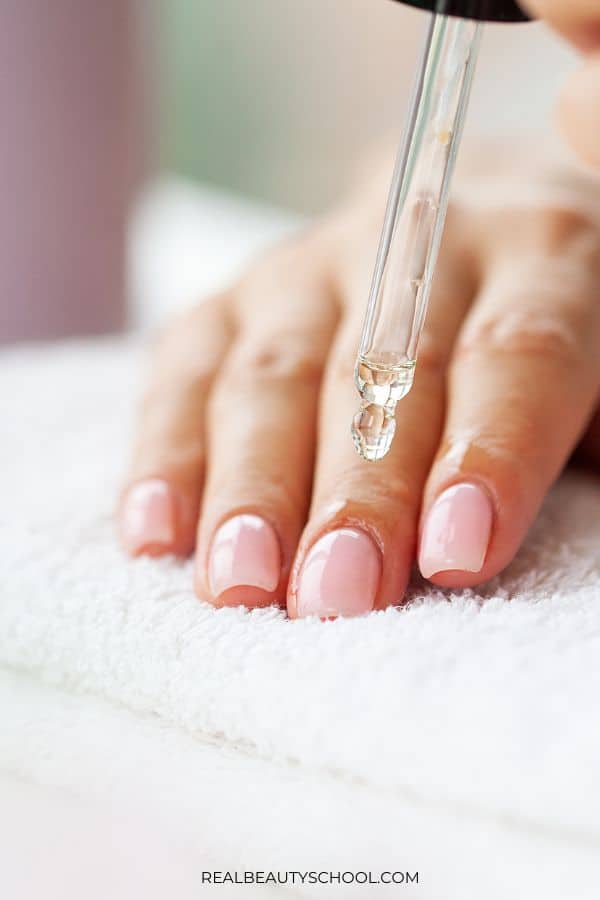
- Hydrate Cuticles: Apply cuticle oil to nourish your cuticles and keep them looking neat.
Optional: How to Do Gel Extensions

If you want to add length and glamour to your nails, gel extensions are a great option.
- Prep Your Nails: Follow the same steps as for natural gel nails (clean, shape, buff, and push back cuticles).
- Apply Tips: Choose extension tips that fit your nails snugly and secure them with builder gel. Cure under a UV lamp.
- Shape and Buff: Trim the extensions to your desired length and smooth out any ridges.
- Apply Gel Polish: Follow the gel nail application steps above.
If you want to know more about how to apply gel extensions at home, read this fantastic guide here!
Tips for Perfect Gel Nails at Home
- Invest in Quality Products: Good gel polish and tools make all the difference for long-lasting results.
- Cure Between Layers: Cure each layer thoroughly under the UV lamp to prevent smudging.
- Avoid Water and Chemicals: For the first few hours after application, avoid exposing your nails to hot water or harsh chemicals.
- Practice Patience: The process may feel tedious at first, but practice makes perfect!
Related: Gel Nails vs. Dip Nails: A Beauty Professional’s Perspective
Conclusion

Doing your own gel nails at home is an affordable, relaxing, and rewarding experience. With the right tools and techniques, you can achieve salon-quality results from the comfort of your own home. Whether you stick with natural gel nails, explore gel extensions, or try dip powder nails, the possibilities are endless. So go ahead, get creative, and flaunt your fabulous DIY nails with pride!


