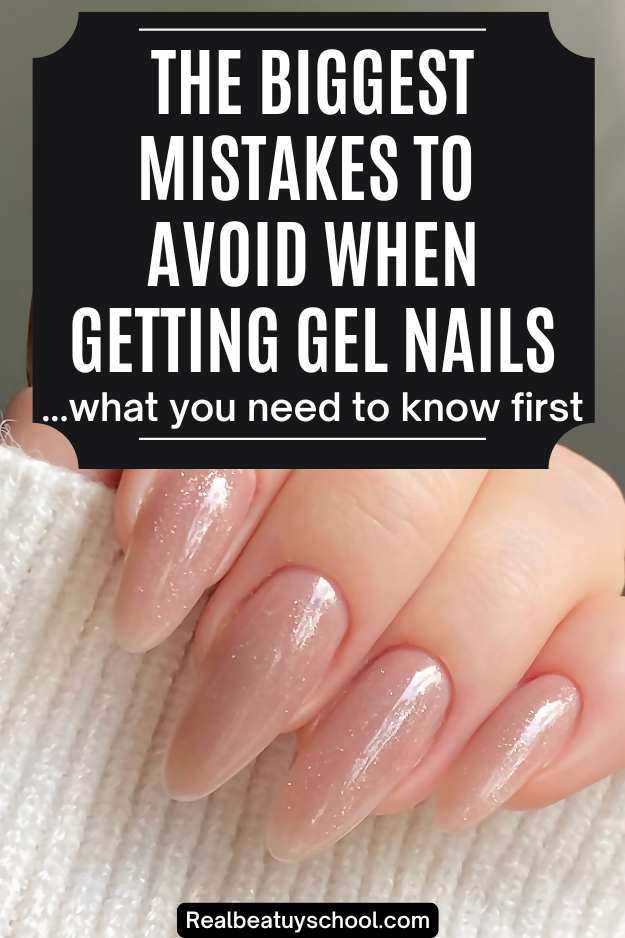
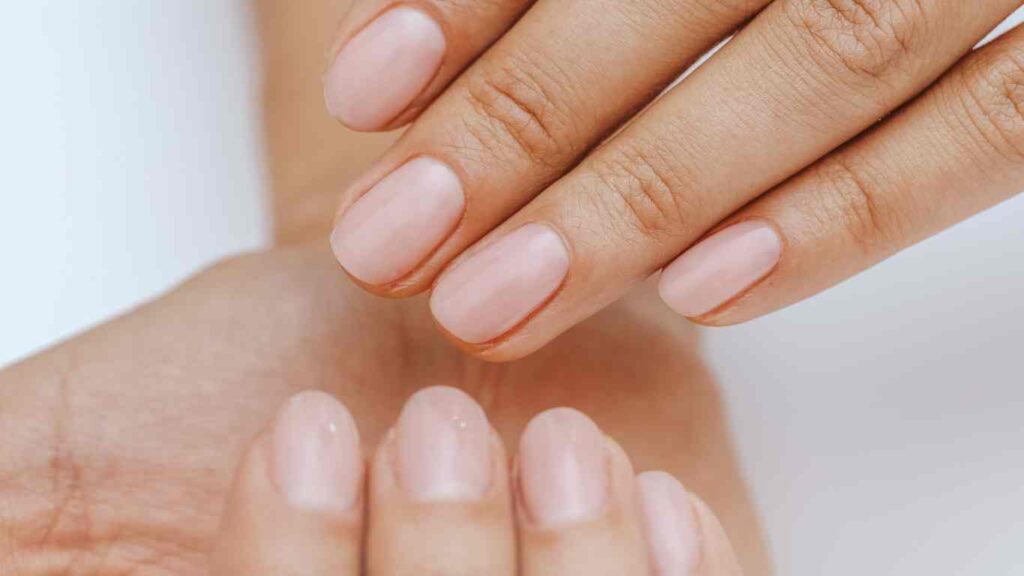
Getting a flawless gel manicure is a joy. But, chipped edges or yellowing nails can ruin it. Knowing the biggest mistakes helps protect your nails.
Understanding Gel Nail Basics: What You Need to Know First
Before diving into common mistakes, learn the basics of gel nails. Understanding how they work and what to expect is key. It helps you spot proper techniques and follow best gel nail practices for lasting results.
The Science Behind Gel Polish Technology
Gel polish uses light-activated chemistry for durable results. Here’s how it works:
- Polish contains photo-initiators that react to UV/LED light.
- Layers harden into a protective shell under specific light wavelengths.
- Proper curing times (30–60 seconds per layer) ensure strong adhesion.
How Gel Nails Differ from Regular Manicures
Key differences to know:
- Application time: Gel takes 45–90 minutes vs. 20–30 minutes for regular polish.
- Longevity: Lasts 2–3 weeks vs. 3–7 days for regular manicures.
- Removal: Requires specialized tools like acetone soaks and UV light—no home filing or stripping.
What to Expect with Your First Gel Manicure
During your first visit, prepare for these steps:
- Nails are cleaned, shaped, and coated with primer to boost adhesion.
- Color layers are applied one at a time, cured under a lamp after each step.
- You’ll get post-care tips like avoiding water for 48 hours and weekly cuticle maintenance.
Following this process ensures your manicure aligns with best gel nail practices. This prevents future issues like lifting or damage.
Poor Nail Preparation: Setting Yourself Up for Failure
Skipping basic prep steps is a top reason for gel nails mistakes like peeling or lifting. Proper preparation is not just a formality. It’s the foundation of a lasting manicure. Rushing this phase dooms your results.
- Cleaning neglect: Oils or lotions on nails create slippery surfaces. Gel polish can’t stick to residue, leading to early failure.
- Bad cuticle moves: Pushing cuticles gently is key. Cutting or yanking them damages skin, inviting infection and uneven polish application.
- Buffing oversights: Over-sanding removes the nail’s natural texture. Light buffing removes shine without weakening the nail bed.
- No primer/dehydrator: These products remove moisture and oils. Skipping them traps water under polish, causing bubbles and lifting.
Pro tip: Prep takes 10 minutes but makes or breaks your manicure. Follow this checklist:
- Clean nails with acetone to remove all oils.
- Push cuticles back gently—never cut.
- Buff lightly in one direction using a 180-grit block.
- Apply primer, wait 10 seconds, then wipe off residue.
Remember, gel nails mistakes often start here. Proper prep ensures a strong bond, extending your manicure’s life. Your nail tech’s skills matter, but without prep, even experts can’t fix a weak base.
The Biggest Mistakes to Avoid When Getting Gel Nails at Home
DIY gel manicures can go wrong fast if you overlook basic rules. These common gel nail errors often happen when trying to speed up the process or cut corners. Here’s how to fix them:
Skipping Essential Steps in the Process
Skipping steps like a base coat or UV lamp timing leads to peeling and weak bonds. Always follow this checklist:
- File nails gently before applying polish
- Use a base coat to protect the natural nail
- Cure every layer exactly as the manufacturer says
Using Incompatible Products Together
Mixing brands like LED gels with non-LED lamps causes curing failures. Stick to systems like LEDgels by UV Smart or CND Shellac kits designed to work together.
Improper Curing Techniques and Times
Under-curing (less than 30 seconds) or over-curing (more than 2 minutes) harms results. Use a timer and ensure the lamp’s LED bulbs face the nails directly.
Applying Layers That Are Too Thick
Heavy coats trap air bubbles and trap heat. Apply thin, even layers—like painting with watercolor—then cure each one fully.
Avoiding these mistakes means less frustration and longer-lasting manicures. Pay attention to details to beat the common gel nail errors many beginners face.
Common Gel Nail Application Errors That Shorten Your Manicure Life
Even small mistakes during application can shorten your gel nails’ life. Learning these tips for gel nail application helps keep your manicure looking good and lasting longer.
Getting Polish on Your Cuticles
Polish on cuticles weakens the bond. Skin oils can break down the gel, causing peeling. Clean your cuticles with an orange stick before curing to prevent this.
Use a thin brush to gently remove excess polish from your skin before UV exposure.
Forgetting to Cap the Free Edge
The free edge, or the tip of your natural nail, is where chipping begins. Cap this area with a light polish application. This seals the edge, preventing cracks during daily activities.
Neglecting the Importance of Base and Top Coats
Base coats act as adhesives, while top coats protect the color. Skipping either can cause staining, fading, or flaking. Apply base first, cure, then color, then top coat.
Each layer needs full curing time. Follow the brand’s curing guidelines (like LED light duration) for the best results.
Damaging Habits During Your Gel Manicure Lifespan
Keeping your gel nails safe is more than just applying them. It’s about being careful every day. Using nails to open things or picking at labels can damage the gel polish. This damage can cause the gel to lift or chip off your natural nail.
Chemicals also play a big part. Cleaning products, hand sanitizers, and some lotions can harm the gel. Always wear gloves when washing dishes or cleaning to protect your nails. Even just washing your hands a lot can cause the gel to lift off.
- Stop picking at peeling edges: Use a buffer block to smooth rough spots instead of tearing at them with fingers.
- Let go of the “tool” habit: Carry a bottle opener or scissors to avoid using nails as leverage.
- Hydrate without harm: Apply a nourishing cuticle oil daily to keep nails flexible, but avoid greasy products that weaken the gel’s seal.
Don’t worry about small chips right away. A little top coat can fix them and make your manicure last longer. Making these small changes can help keep your nails looking great for weeks. It’s all about taking care of your nails every day.
Removal Nightmares: How Not to Take Off Your Gel Polish
Removing gel nails the wrong way can really hurt. It can cause cracked cuticles, stripped nails, or even infections. Knowing how to remove gel polish without damaging your nails is key.
The Peeling Problem: Why It’s Destructive
Peeling off wet gel polish can harm your natural nail. It weakens nails, making them more likely to split. Wait until the polish lifts naturally before trying to remove it.
Rushed Removal Processes That Damage Nail Beds
Using acetone too quickly can be harmful. Aggressive scraping can tear the nail bed, causing bleeding or discoloration. Soak for the full recommended time to avoid damage.
Tools to Avoid When Removing Gel Polish
Using metal cuticle pushers, abrasive files, or dental floss can crack nails. Instead, use wooden orangewood sticks and non-abrasive pads.
- Fold a paper towel soaked in acetone, wrap nails in foil, and soak 15-20 minutes.
- Use a wooden stick to gently lift edges—never metal.
- Wipe with cotton pads until polish dissolves completely.
- Moisturize nails post-removal to restore natural oils.
By following this method, you can avoid expensive salon repairs. Proper care after removal keeps your nails strong for future use.