
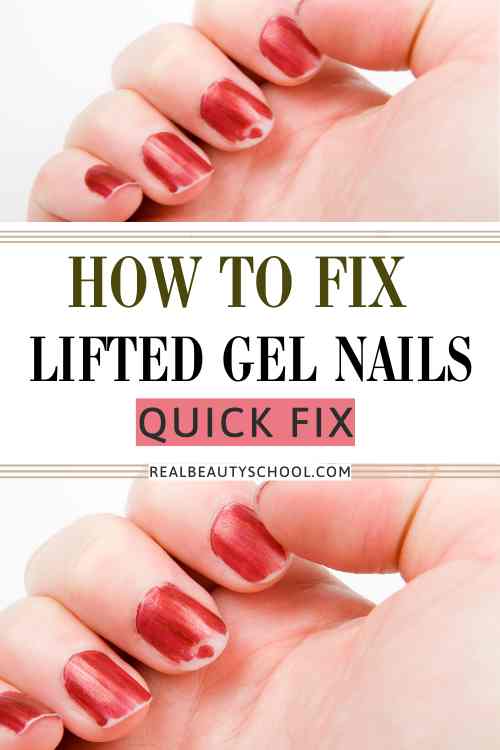
How to Fix Lifting Gel Nails at Home (Without Peeling Them Off!)
There’s nothing more frustrating than seeing your perfect gel manicure start to lift—especially when it happens just a few days after application. The temptation to peel it off is real, but trust me: that’s the fastest way to damage your natural nails. Whether it’s caused by poor prep, moisture, or just wear and tear, lifting gel doesn’t mean you have to scrap your whole mani.
In this guide, I’ll show you exactly how to fix lifting gel nails at home safely and effectively, using tools you already have. Plus, I’ll share how to prevent lifting in the future—because long-lasting gel is totally doable with the right hacks.
🧴 Why Gel Nails Lift in the First Place
Before we fix it, let’s talk about why it happens:
- Improper prep (oil or moisture on the nail plate)
- Skipping base coat or using low-quality products
- Flooded cuticles (gel touching the skin lifts faster)
- Excessive water exposure (especially hot water)
- Peeling or biting habits
- Thick or uneven application
Now let’s fix it!
🛠️ How to Fix Lifting Gel Nails at Home
🔹 Option 1: File and Patch (Quick Fix)
This works best if the lifting is minor and only on one corner or edge.
What you’ll need:
- Nail file
- Buffer
- Gel base coat
- Gel color (optional)
- Gel top coat
- UV/LED lamp
Steps:
- Wash and dry your hands thoroughly.
- Gently file away the lifted edge without damaging your natural nail.
- Buff the surrounding area to create a smooth surface.
- Wipe with rubbing alcohol or nail cleanser.
- Apply a thin layer of base coat over the repaired section and cure.
- Reapply color if needed, then seal with top coat over the entire nail and cure.
✨ This will get you at least another week of wear!
🔹 Option 2: Full Nail Refresh
If multiple nails are lifting, it may be better to redo them completely.
Steps:
- File down the gel surface gently (do not touch natural nail).
- Soak a cotton ball in acetone, apply to the nail, and wrap in foil for 10–15 mins.
- Use a cuticle pusher to gently remove softened gel.
- Buff and cleanse the nail.
- Reapply gel base, color, and top coat as usual.
🚫 What NOT to Do
- Don’t peel off the lifted gel (you’ll remove layers of your nail).
- Don’t just paint over it without filing or prepping.
- Don’t soak in hot water immediately after repairing—it weakens the bond.
💡 Final Tips
Fixing a lifting gel nail doesn’t have to mean starting over—or damaging your nails. With the right technique, you can patch it up and still get days of extra wear. Prevention is key: make sure your nails are clean, dry, and oil-free before every gel application, and always cap the free edge. Hydrated nails = stronger nails, so keep cuticle oil nearby. Next time you spot a lift, skip the peel and reach for your file—you’ve got this! 💅