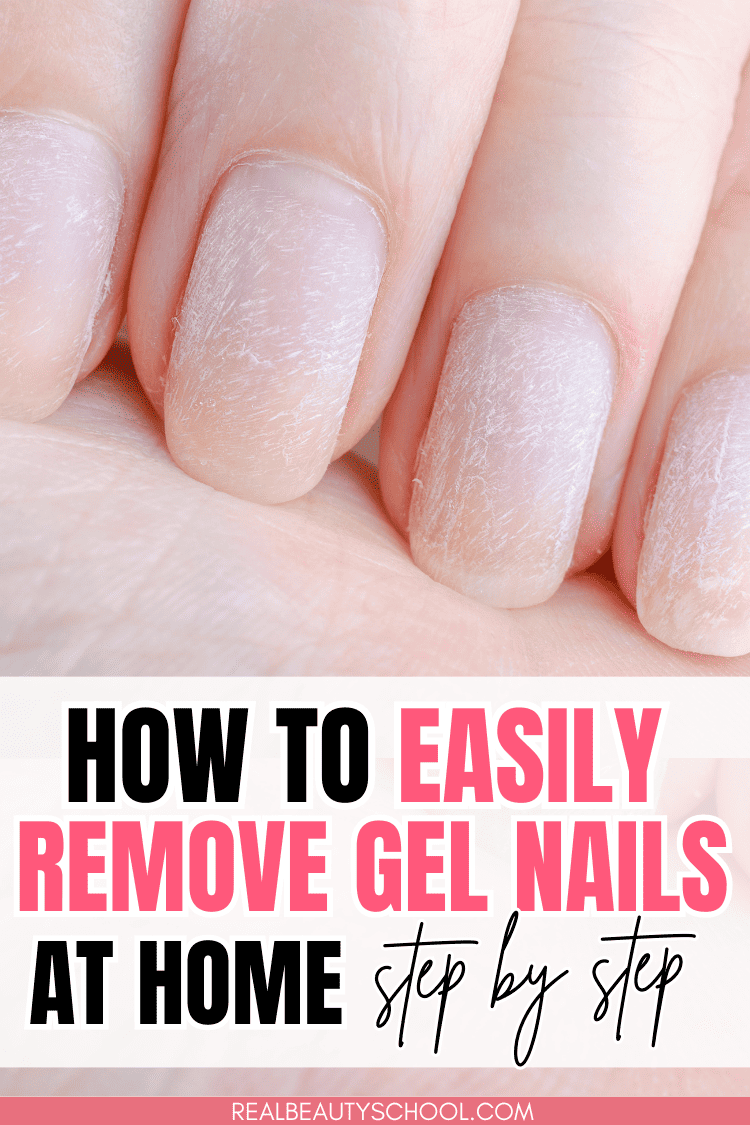
How to Remove Gel Nails at Home: Ultimate Guide
Welcome, nail enthusiasts!
Today, we’re diving into the world of gel nails and discussing the crucial topic of proper gel nail removal.
Gel nails have gained popularity due to their long-lasting nature, offering extended wear compared to traditional nail polish.
However, it’s essential to understand the importance of removing gel nails correctly to maintain the health and integrity of your natural nails.
In this blog post, we will provide you with a step-by-step guide on how to effectively remove gel nails in the comfort of your own home.
This post may contain affiliate links. That means if you click and buy, I may receive a small commission (at zero cost to you). Please see my full disclosure policy for details.
Step 1: Gathering the Necessary Supplies to remove your gel nails
To easily remove your gel manicure, it’s important to gather the necessary supplies.
Here’s a list of items you’ll need:
Acetone: Acetone is a key component in gel nail removal. Look for high-quality acetone specifically formulated for this purpose, as it helps break down the gel polish effectively.
Look for a 100% pure acetone like this one, its not the same as a regular nail polish remover.
Nail File: A nail file will come in handy to gently shape and prepare your nails before the removal process.
It helps remove any rough edges and allows the acetone to penetrate the gel layers more efficiently.
Cuticle Pusher or Orangewood Stick:
These tools assist in gently pushing back the cuticles and aiding in the removal process.
They are useful for scraping off the softened gel without causing damage to the natural nails.
Petroleum Jelly:
Applying petroleum jelly around the nail bed acts as a protective barrier, preventing the acetone from coming into direct contact with the surrounding skin.
It helps minimize potential irritation or dryness.
B. Importance of using high-quality products for best results
When it comes to gel nail removal, using high-quality products is crucial for achieving the best results.
Here’s why:
Effective Removal: High-quality acetone is specifically formulated to break down gel polish efficiently.
Inferior products may not contain the necessary ingredients or concentration to effectively remove the gel, leading to a more challenging and time-consuming process.
Nail Health: Inferior products can potentially cause more harm than good.
They may contain harsh chemicals that can weaken or damage the natural nails.
Opting for reputable brands and quality products ensures a gentler and safer removal process, minimizing the risk of nail damage.
Efficiency: High-quality products are often formulated to work more efficiently, saving you time and effort.
They can effectively dissolve the gel layers, allowing for easier and quicker removal, ultimately making the entire process more convenient.
Step 2: Preparing the Nails
A. Trimming and filing the nails to the desired length
Before diving into the gel nail removal process, it’s important to trim and shape your nails to your desired length.
Grab a nail clipper or nail scissors and carefully trim them to your preferred shape.
Remember, shorter nails are less prone to accidental snags or breakage during the removal process.
Once your nails are trimmed, use a nail file to gently shape and smooth the edges.
This step helps create a clean canvas for the gel removal process, ensuring better adherence of the products you’ll be using.
B. Gently buffing the surface of the gel nails
Next up, it’s time to give those gel nails a gentle buff.
Grab a nail buffer or a soft buffing block and lightly run it across the surface of each gel nail.
This step helps remove the shine and breaks the seal of the gel, allowing the removal products to penetrate more effectively.
Remember to be gentle during this process to avoid thinning the natural nail or causing damage.
C. Applying petroleum jelly around the nails to protect the skin

Before moving forward, it’s crucial to take a moment to protect the skin surrounding your nails.
Apply a thin layer of petroleum jelly, such as Vaseline, around the nail bed and cuticles.
This acts as a barrier, preventing the acetone or other removal products from coming into direct contact with your skin.
It also helps to nourish and hydrate the skin, minimizing any potential dryness or irritation caused by the removal process.
By trimming and filing your nails, gently buffing the gel surface, and applying petroleum jelly to protect the skin, you’re ensuring a well-prepared foundation for the gel nail removal process.
These steps contribute to a smoother and more comfortable experience
while minimizing the risk of damage to your natural nails and surrounding skin.
Step 3: Soaking the Nails
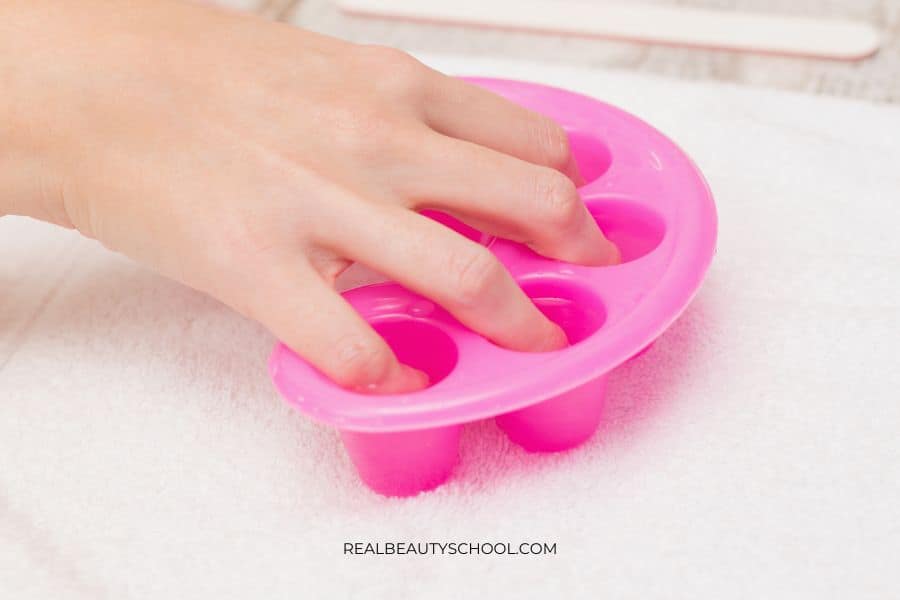
A. Preparing a bowl of acetone
You can get the pink soak nail bowl here.
Now that your nails are prepped and ready, it’s time to tackle the gel removal process.
Start by preparing a bowl of acetone.
Ensure the bowl is deep enough to fully submerge your fingertips, allowing the gel to soak effectively.
You can find acetone at most beauty supply stores or pharmacies, and it’s a key player in breaking down the gel polish.
B. Submerging the nails in acetone for the recommended duration
Take a deep breath and gently immerse your nails in the acetone bath.
Let them soak for the recommended duration, typically around 10-15 minutes.
During this time, the acetone works its magic by gradually dissolving the gel layers, making them easier to remove.
It’s important to exercise patience here and avoid the temptation to rush the process.
Remember, good things come to those who wait!
Alternative method: Using acetone-soaked cotton balls or wraps
If you’re feeling a bit adventurous, you can also try an alternative method using acetone-soaked cotton balls or wraps.
Soak cotton balls or squares in acetone, ensuring they are saturated but not dripping.
Place a soaked cotton ball on each nail, or wrap a piece of soaked cotton around each finger, securing it with aluminum foil or nail clips.
This technique creates a more localized environment, allowing the acetone to work its magic on each individual nail.
Whether you choose the traditional bowl soaking method or the cotton ball/wrap method, both approaches effectively soften the gel polish, making it easier to remove.
Experiment with both techniques and find what works best for you.
Just remember, patience is key during the soaking process.
Put on some relaxing music, catch up on your favorite show,
or indulge in a mini pampering session while you wait for the acetone to work its charm.
By soaking your nails in acetone for the recommended duration, you’re allowing the gel polish to break down and loosen its grip.
This sets the stage for the next step, where we’ll gently remove the softened gel and bid farewell to those stubborn layers.
So, sit back, relax, and let the acetone do its thing!
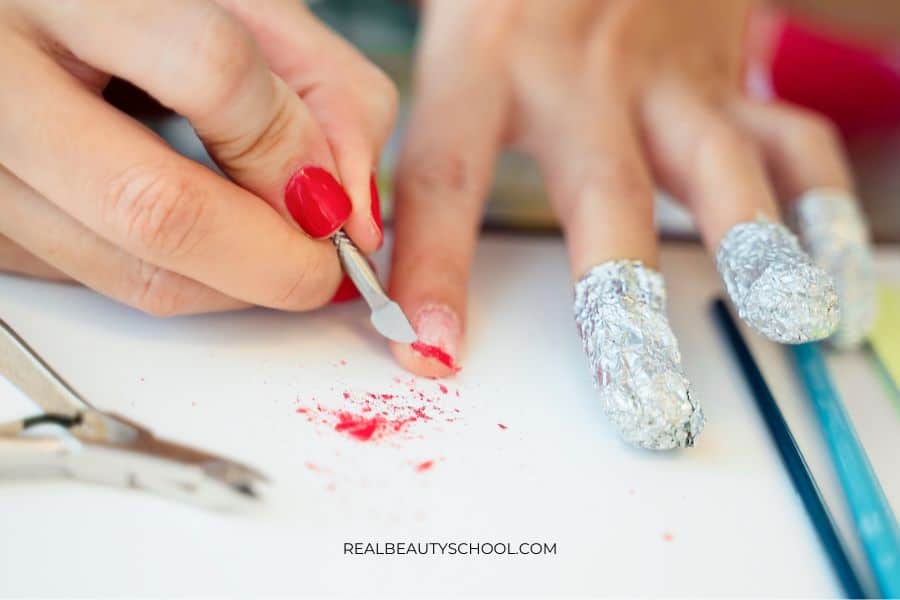
Step 4: Removing the Gel
A. Gently scrape off the softened gel using a cuticle pusher or orangewood stick
Now that the gel has had its nice, relaxing soak, it’s time to bid it farewell.
Take your trusty cuticle pusher or orangewood stick and gently scrape off the softened gel from the nail surface.
Be gentle but firm, using controlled movements to avoid any unnecessary damage.
Remember, we aim for a clean removal, not a battle of brute force.
B. Avoiding excessive force to prevent damage to the natural nails
As you scrape away the gel, it’s essential to avoid going overboard with force.
Excessive scraping or picking can lead to thinning or weakening of the natural nails.
So, go easy on your digits and let the acetone do most of the work.
If there are stubborn spots that refuse to budge, don’t fret!
Simply repeat the soaking and scraping process until your natural nails are free from their gel shackles.
Repeating the soaking and scraping process as necessary
Patience is key during gel removal. If you encounter stubborn patches of gel that just won’t let go, don’t give up!
Simply give them another round of soaking in the acetone bath, allowing the gel to further soften.
Then, give it another go with the gentle scraping action.
Repeat this process as necessary until your nails are entirely free from any lingering gel residue.
Persistence pays off!
Step 5: Post-Removal Care
A. Cleaning and drying the nails
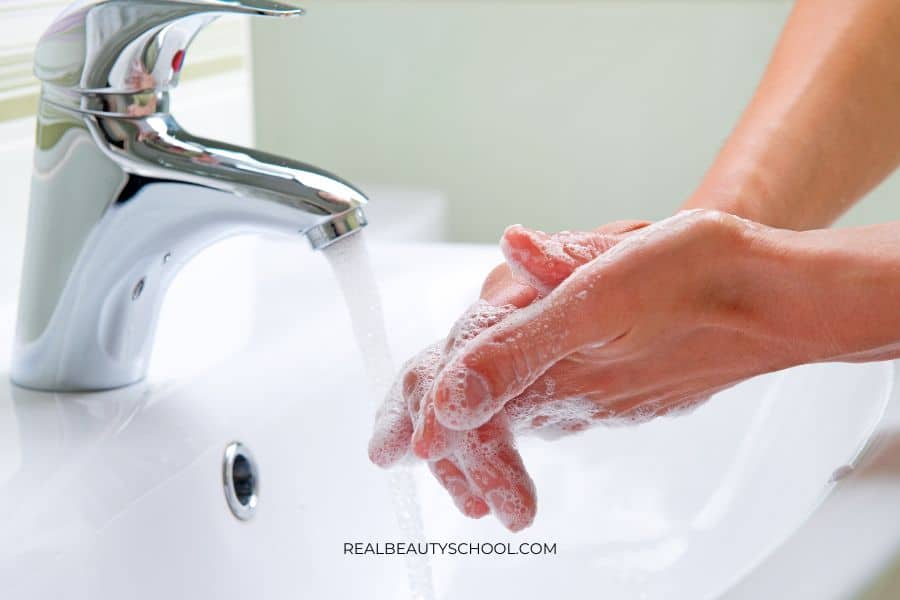
Congratulations, you’ve successfully bid farewell to those gel nails!
Now, let’s give your natural nails some well-deserved post-removal care.
Begin by thoroughly cleaning your nails, ensuring all traces of acetone and gel residue are removed.
Gently rinse them with warm water and pat them dry with a soft towel.
Clean and fresh, just the way we like it!
B. Applying cuticle oil or moisturizer to nourish the nails

Next, it’s time to show your nails some love.
Apply a nourishing cuticle oil or moisturizer to hydrate and replenish the nails.
This step helps restore moisture and nutrients to the nail bed, promoting healthy nail growth and preventing dryness.
Massage the oil or moisturizer into the nails and surrounding skin, giving them a little pampering session. Your nails will thank you!
C. Taking a break before applying new nail set
After the gel removal process, it’s important to give your natural nails a breather.
Allow them some time to recover and strengthen before diving into a new nail adventure.
Taking a break from nail enhancements gives your nails a chance to breathe and regain their natural strength.
Embrace the au naturel look or opt for a simple manicure during this downtime.
Your nails will be ready and refreshed for their next glamorous transformation.
What’s next? More Nail Care Guides:
- How to do your Gel Nails at Home (Step-by-Step Beginner’s Guide)
- 89 STUNNING Nail Design Ideas for your next Mani!
- How to do a Self-care Day if you are on a Budget! (101 cheap but GOOD self-care ideas)