The Ultimate Guide to Safely Removing Acrylic Nails at Home
The Ultimate Guide to Safely Removing Acrylic Nails at Home
Acrylic nails have become an essential part of many people’s beauty routines.
Offering strength, length, and a canvas for intricate nail designs, it’s no wonder they’re so beloved.
However, like all good things, there comes a time to part ways with your acrylics.
While visiting a salon is an option, many prefer the convenience and comfort of removing their nails at home.
In this comprehensive guide,
we’ll delve deeper into what is the best way of removing acrylic nails safely and
effectively without compromising the health of your natural nails.
This post may contain affiliate links. That means if you click and buy, I may receive a small commission (at zero cost to you). Please see my full disclosure policy for details.
Understanding the Importance of Safe Acrylic Nail Removal
It’s not just about aesthetics; it’s about health.
Forcibly peeling off or biting your acrylic nails can lead to damaged nail beds, infections, and prolonged recovery times.
Proper removal ensures not only the appearance but also the health of your natural nails.
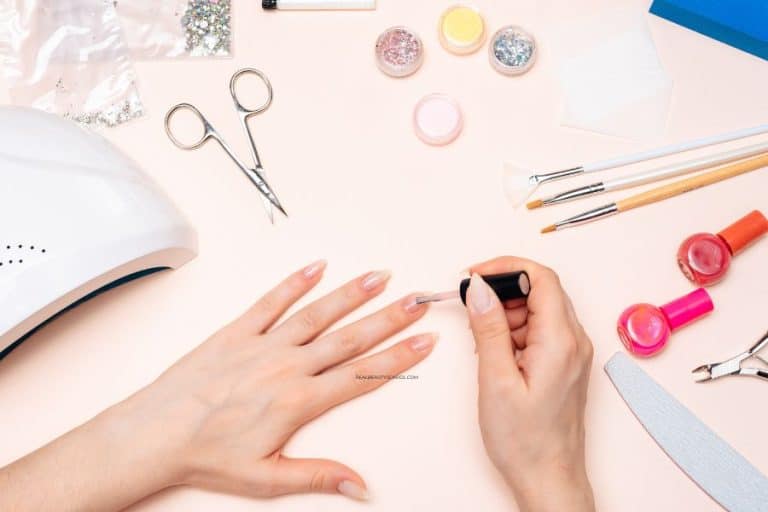
Materials You’ll Need to remove acrylic nails:
Before diving into the process, it’s essential to gather all necessary supplies:
Acetone: Preferably 100% pure like this one here for efficient removal.
Nail Clippers: For trimming the length of the acrylics.
Tweezers or an Orange Stick: Useful tools for gentle scraping.
Petroleum Jelly or Oil: To shield the skin from the drying effects of acetone.
Cotton Balls or Pads: For applying acetone.
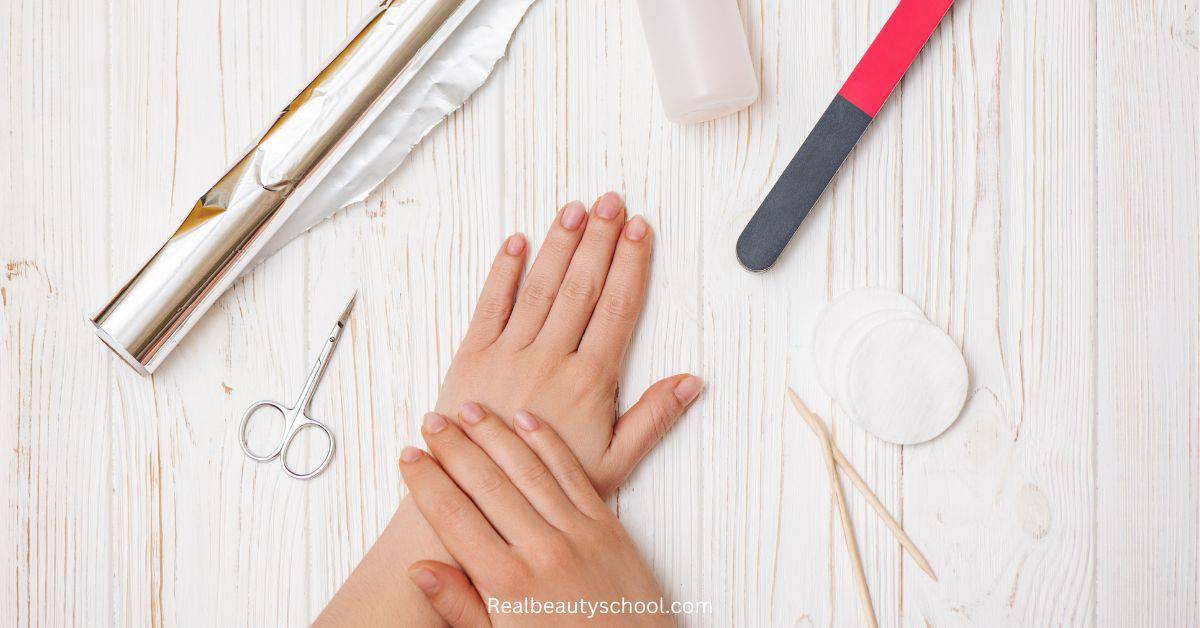
Aluminum Foil: Helps to keep the cotton pads in place.
Nail Buffer: To smoothen out any roughness post-removal.
Nourishing Moisturizer: To hydrate the nails and cuticles after the procedure.
Bowl: For those who prefer the soaking method.
How to Remove Acrylic Nails at Home Step by Step:
1. Preparing the Canvas
Use nail clippers to trim down the acrylic nails.
The shorter the acrylic, the faster the removal process.
2. Skin Safety First
Acetone, while effective, can be harsh.
Rub petroleum jelly or oil generously around your nails, ensuring the skin is protected from its drying effects.
The Acetone Application:
3. First method: Cotton Ball Technique.
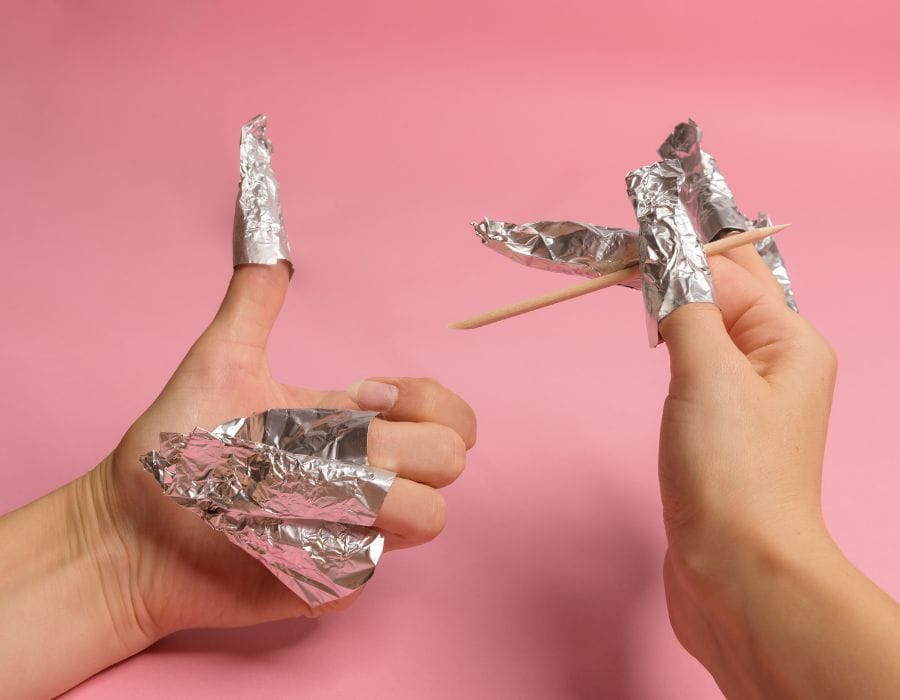
- Drench a cotton ball in acetone.
- Lay the soaked cotton ball directly on the acrylic nail.
- Secure with aluminum foil to ensure it remains in place.
- Let it sit for about 25-35 minutes.

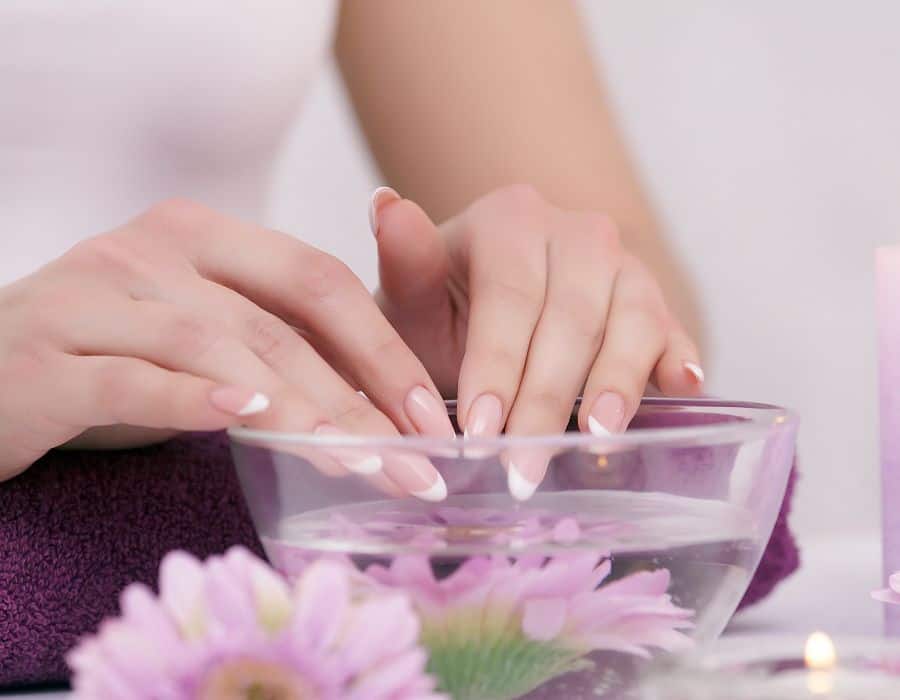
3. Second method: Deep Soak Method
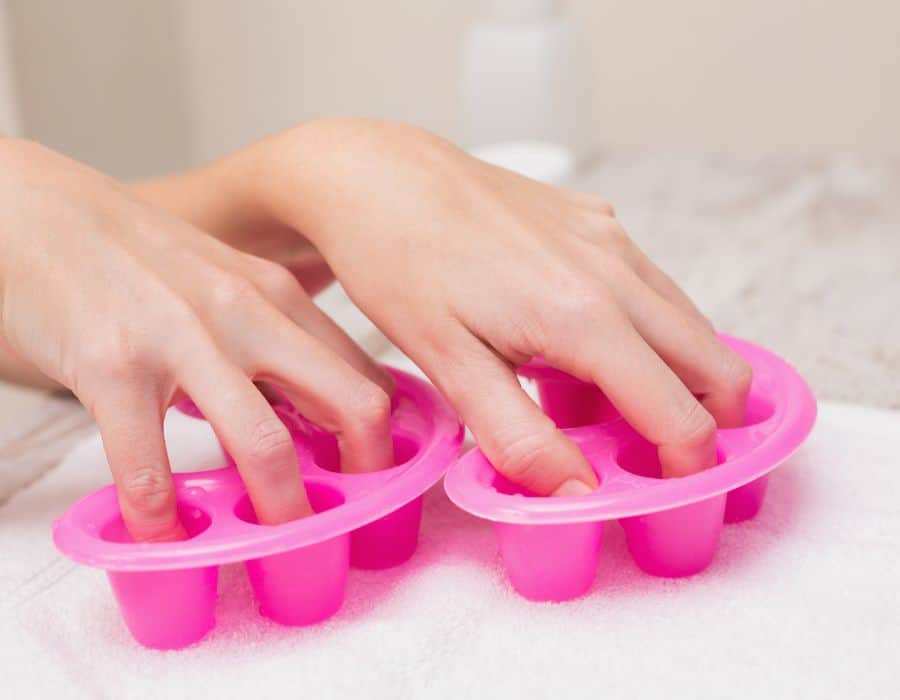
- Fill a bowl with acetone.
- Submerge your nails, making sure they are well-covered.
- Patiently wait for 25-35 minutes.

4. Gentle Scrutiny:
Post soaking, the acrylic should now be soft, with a gel-like consistency.
With utmost gentleness, begin scraping off this layer using tweezers or orange sticks.
if you feel any resistance, give them another acetone bath for an additional 10 minutes.
7. The Finishing Touches
After successfully removing the acrylic, there might be some rough patches.
Use a nail buffer to smooth these out.
Follow this up by shaping your natural nails to your desired form.
8. Rehydration is Key
Acetone can significantly dehydrate your nails and the surrounding skin.
Reintroduce moisture by massaging in a good hand cream or nail oil, focusing especially on the cuticles.
Expert Tips for a quick and safe Acrylic Removal Process:
- Ensure you’re working in a room with good airflow when handling acetone.
- Patience is key. Never rush the process by tugging or forcibly removing the acrylic.
- Listen to your body. If there’s any discomfort, stop and reassess.
- if you notice any abnormalities or signs of infection, seek professional advice.
Post-Removal Nail Care
After the removal of acrylic nails, your natural nails might feel weak or brittle.
This is the ideal time to treat them with nourishing treatments designed to restore their health.
Nourishing Treatments:
Nail Masks: Much like face masks, there are nail masks available.
These masks are formulated with vitamins and moisturizing agents to repair and hydrate the nails.
Apply the mask as directed, often leaving it on for a specified time, and then rinse off.
Nail Serums: These are concentrated formulas that provide essential nutrients directly to your nails.
Rubbing a serum like this one here into your nails and cuticles daily can speed up the healing process post-acrylics.
Natural Nail Strengthening:
The strength of your natural nails can be compromised after wearing acrylics. Consider the following remedies:
- Biotin Supplements: Biotin, a part of the vitamin B family, has been linked to improved nail strength and growth.
Before starting any supplement, it’s advisable to consult with a healthcare professional.
- Nail Hardeners: Available over the counter, products like this hardener here create a protective layer over your nails, preventing breakage.
- Dietary Adjustments: Consuming a diet rich in protein, omega-3 fatty acids, and zinc can contribute to healthier and stronger nails.
Recovery Period:
After removing acrylic nails, it’s essential to give your natural nails time to recover.
- Breather Period: Ideally, wait at least two weeks before applying another set of acrylics or any other type of nail enhancements.
- Regular Moisturizing: Keeping your nails and cuticles moisturized will prevent them from becoming dry and brittle.
Common Mistakes and How to Avoid Them:
Forced Removal
Ripping off acrylic nails can cause trauma to the natural nail bed.
Always prioritize gentle methods like acetone soaking to ensure safe removal.
Incomplete Acetone Soaking:
If acrylics aren’t adequately soaked in acetone, they won’t reach the desired jelly-like consistency for easy removal.
Ensure you soak for the recommended duration and if needed, a bit longer.
Rushing this step can lead to painful removal and potential nail damage.
Over-Buffing:
While buffing helps smooth out rough surfaces after acrylic removal, overdoing it can thin out your natural nails, making them weak and prone to breakage. Always use a gentle touch, and if you’re unsure, seek advice or services from a professional.
Understanding Acrylic Nails and Nail Health
Why Acrylics Adhere so Strongly:
Acrylic nails are a combination of a liquid and a powder that, when mixed, form a malleable gel.
Once applied to the natural nail, they harden and adhere strongly.
The adhesive nature is due to the chemical bonds formed between the acrylic mixture and the natural nail’s surface.
Long-term Effects of Acrylics:
While acrylic nails can be safe when applied and removed correctly, prolonged use without breaks can lead to:
- Nail Thinning: The natural nail can become thin and weak due to the constant overlay of acrylics.
- Fungal Infections: Moisture trapped between the acrylic and natural nail can lead to fungal growth.
- Discoloration: Continuous application can lead to the natural nail turning yellowish over time.
Benefits of Giving Nails a Break:
It’s beneficial to let your nails “breathe” between applications. This break:
- Allows for the nail to regain its natural strength.
- Reduces the chance of infections or complications from continuous wear.
Lets you identify any issues or concerns with your natural nails, ensuring they stay healthy.
Caring for Your Nails Between Acrylic Applications
Alright, let’s chat about that in-between phase.
You know, that window of time after you’ve bade farewell to your old acrylic set but haven’t yet committed to a new one.
Here’s the low-down on keeping your nails feeling loved:
Supercharge with Moisture: Ever feel like your nails are kinda thirsty post-acrylics?
Dive into deep hydrating creams or treat them to a spa day with natural oils like coconut or jojoba.
Watch Out for the Nasty Stuff: Try to keep those nails away from things like cleaning products.
They’re already recovering, so let’s not make it harder for them.
Short and Sweet: If your nails feel a bit fragile, keep them on the shorter side.
This’ll help you dodge those dreaded chips and breaks.
File Away: Give them a gentle file now and then to keep them in shape and snag-free.
Armor Up with Strengthening Treatments: Think of these as your nails’ personal bodyguards, defending against all the wear and tear.
Acrylic Removal: Frequent Q&A
Is it safe to wear acrylics back-to-back?
While it’s possible to wear acrylics back-to-back, it’s advisable to give your natural nails a break between sets. Continuous use of acrylics can weaken the nails and increase the risk of fungal infections.
How often should one take a break from acrylics?
It’s recommended to take at least a two-week break after every two to three acrylic applications. This allows your natural nails to recover, breathe, and regain their natural strength.
How can one tell if they have an infection after removing acrylics?
Signs of infection might include redness, swelling, pain, pus, or an unusual odor. If you notice any of these symptoms or any other abnormalities, it’s best to consult a dermatologist or nail care professional.
Nails Glossary
Nail Bed: The area of the finger or toe that is located directly beneath the nail plate. It contains the blood vessels and nerves and can be sensitive when exposed or injured.
Cuticle: A thin layer of dead tissue that rides on the nail plate and forms a protective barrier. It prevents pathogens from accessing and infecting the nail matrix, where new nail growth originates.
Nail Buffer: A tool used in nail care, typically made up of a foam block coated with a fine grit. It’s used to smoothen the nail’s surface, even out irregularities, and bring a shine to the nail plate.
Nail Matrix: The tissue beneath the base of the nail, where the nail starts to grow. If the matrix gets damaged, it can lead to abnormal nail growth or even permanent nail loss.
Acetone: A volatile, flammable solvent used in nail polish remover. It’s highly effective at breaking down nail polish and acrylic nails.
Nail Hardeners: Over-the-counter products that create a protective layer over your nails, which can reduce breakage and improve resilience.
Final tips on Acrylic Nails
Acrylic nails can make our hands look really fancy.
But, we should also think about our real nails underneath.
This guide tells you how to safely take off acrylic nails and why it’s good to give our nails a little break now and then.
If you want to wear acrylic nails, that’s okay! Just make sure to also take care of your real nails.
By following these tips, you can have pretty nails that are also strong and healthy.
Remember, always be kind to your nails!
Related Nails Posts:
- +67 Halloween Nail Ideas to copy this spooky season!
- 100+ Fall/autumn Nails to get you inspired for your next mani!
- How to Remove Gel Nails at Home (Easy & Safely)
- How to do your own Gel nail at home (Step-by-step guide!)