How I do my own Lash Extensions at home: and save $150 every time
I love getting lash extensions with my lash technician at the beauty salon in my city, but sometimes I do them myself.
It’s not the same; they do not look the same, but they are functional, cute, and super affordable compared to salon prices.
Also, I like to have lashes on hand that I can retouch in case lashes start to fall down.
Today, I’ll share with you how I do it, which products I use, and a few tips that I have learned from doing my own lash extensions to get salon-like results at home.
Step 1: Picking the Right Lashes
This post may contain affiliate links. That means if you click and buy, I may receive a small commission (at zero cost to you). Please see my full disclosure policy for details.
Regular false lashes are usually on a strip.
While I use and enjoy those, we can agree that they don’t look the same as lash extensions.
Lash extensions look more natural, and since they are individual, they attach to your natural eye shape and are undetectable.
I do not use individual lashes for my DIY lash extensions process because I don’t want to apply them one by one.
It is tedious and takes time, which I honestly do not have enough of.
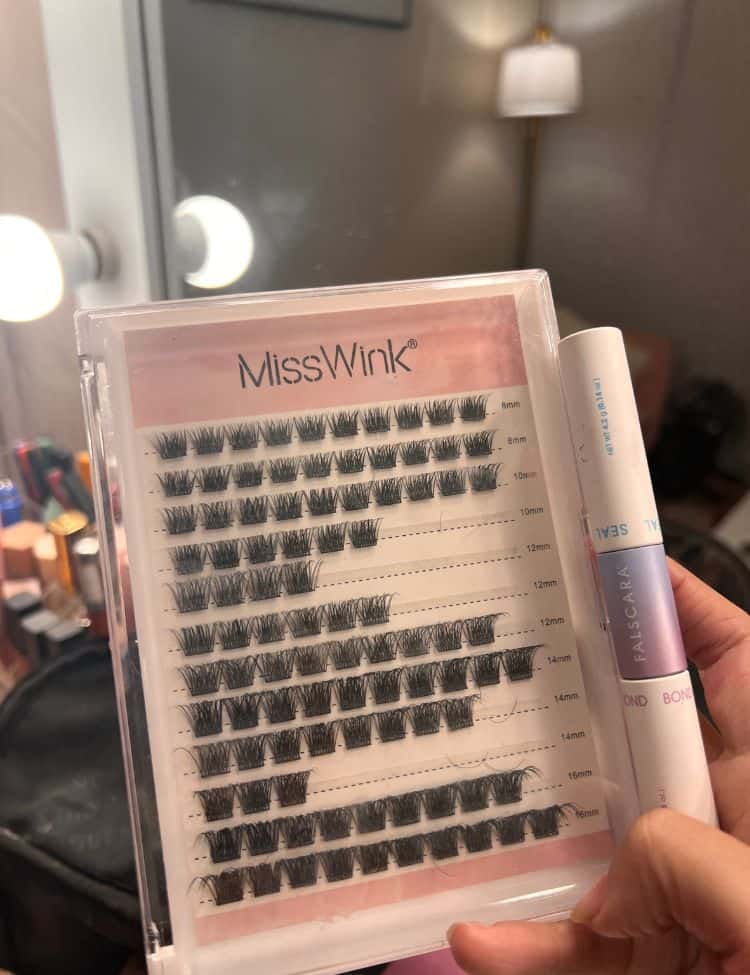
I use clusters, which are between strip/band lashes and individual lashes, and they work just fine for me.
Step 2: The Glue
For lash extensions, regular false eyelash glue is not enough.
The lashes can fall down in one night or sooner.
We are also not using the professional glue lash technicians use at the salon; it is actually dangerous for us to try that at home.
However, there this lash extension glue that consists of a bond and seal part designed for at-home use.
I use the Falscara lashes glue, a tube that comes with bond and seal.
Step 3: Now, Let’s Talk About the Design
Did you know that you can create designs with your lash extensions? You can make your eyes look more foxy, cute, like a doll, etc.
In the lash clusters kit, you can find different sizes of lashes. Depending on the placement of those clusters, you can create a specific design.
I’m looking for an elongated eye look, so I will do this:
- From the outer corner: 16mm, 16mm, 14mm, 14mm, 12mm
16mm are the longest, and from there, I gradually decrease the size to create an elongated effect.
Step 4: Apply the Bond
With my natural lashes perfectly clean and dry, I apply the bond just on the roots of my lashes from the bottom and from the top.
Step 5: Apply the Lashes in the Desired Design
Then, I go directly to apply the clusters without overlapping them in the order I chose before. This takes practice, but it usually only takes me about 5 minutes.
I apply the lashes on top of my natural lashes. I know some people do it underneath, but it is not to my liking. I feel like the false lashes feel heavier when applied under my natural lashes, so I opt to do it on top. Use a tool or your fingers to press your natural lashes and the clusters together.
Step 6: Apply the Seal
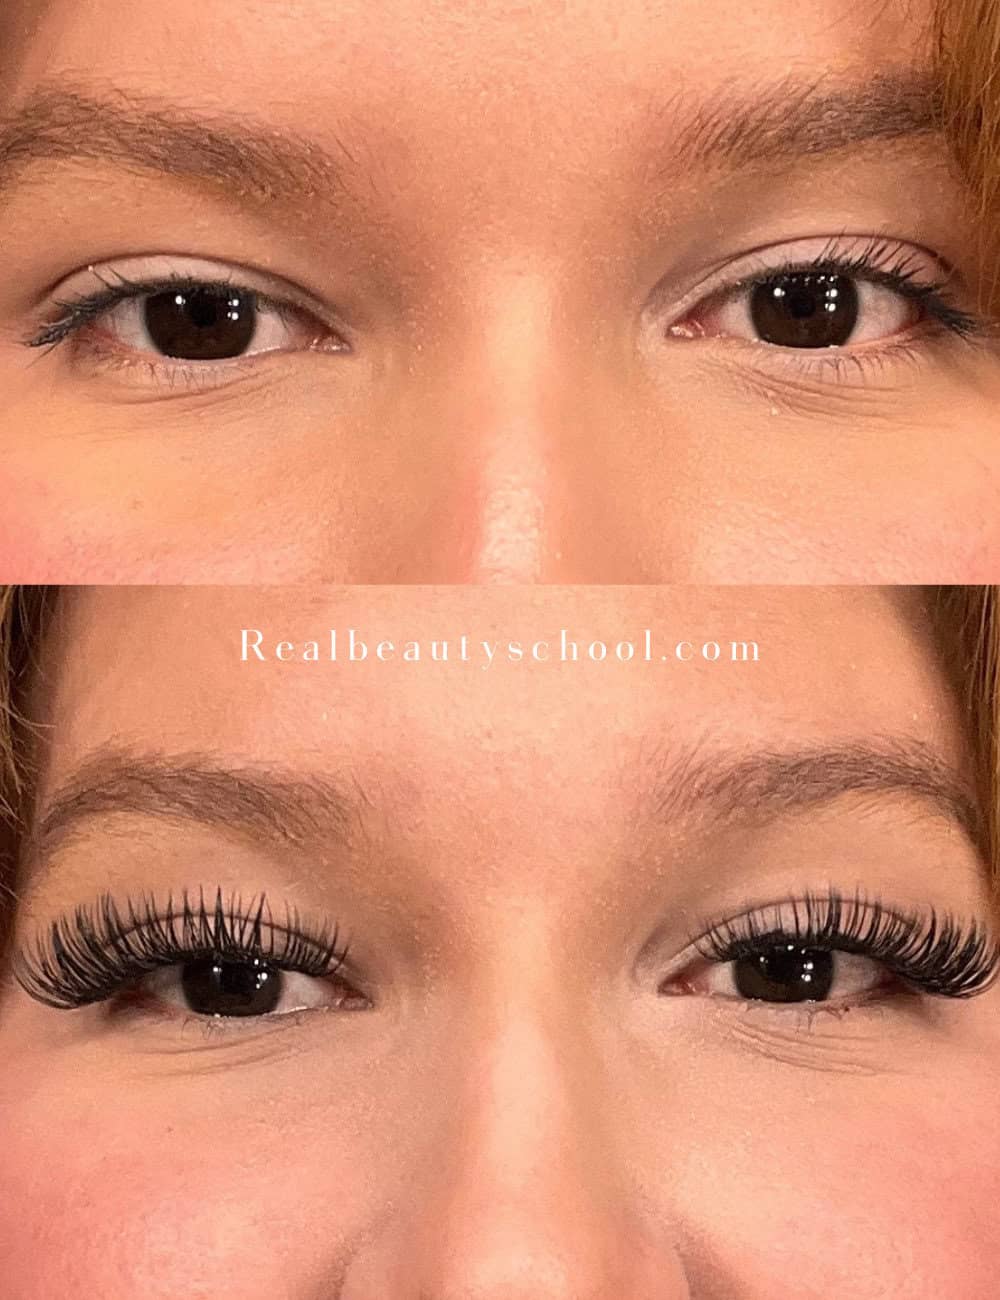
After you finish, use a spoolie brush to comb your new set of lashes and see if you like the results. Once I’m happy with the result, I apply the seal both on top and below the lashes, especially on the roots area.
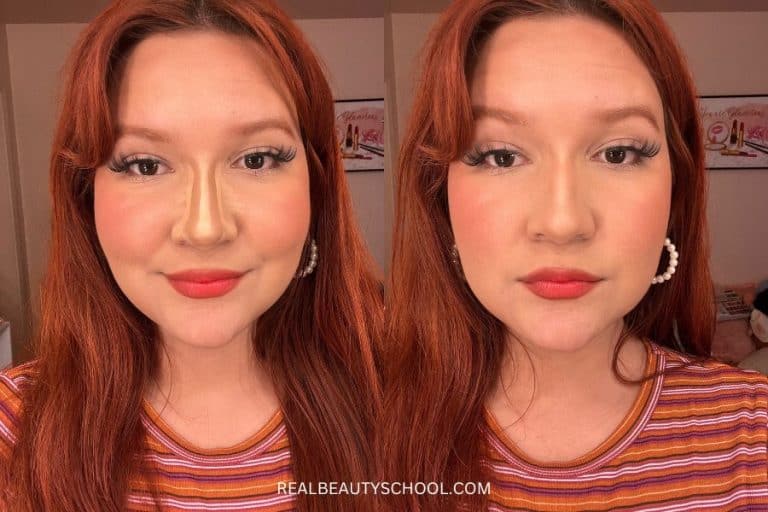
That’s it! The lashes last about 3-6 days.

Final Tips
- Practice Makes Perfect: Don’t get discouraged if it takes a few tries to get it right.
- Keep Everything Clean: Always ensure your lashes and tools are clean to avoid infections.
- Gentle Removal: Use a gentle makeup remover to take off the lash extensions without damaging your natural lashes.
- Mind the Glue: Make sure not to use too much glue to avoid clumping and ensure a natural look.
There you have it! DIY lash extensions at home can save you a lot of money while still giving you salon-like results. With a bit of practice and the right products, you can enjoy beautiful lashes that last for days. Give it a try and see how easy it is to achieve gorgeous lashes on a budget!